If you’ve ever struggled with digging and weeding before, don’t like bending down, or just want to try something different, straw bale gardening is worth a shot. We’ve put together our own straw bale gardening instructions to help you out.
Many people just like you are getting great results with this new way of gardening. You can get started right now with this superb video that sums up the whole process in under five minutes.
5 Minute Straw Bale Gardening Instructions Video
For extra here’s the best e-book I’ve found.
Step 1 – Pick your Straw
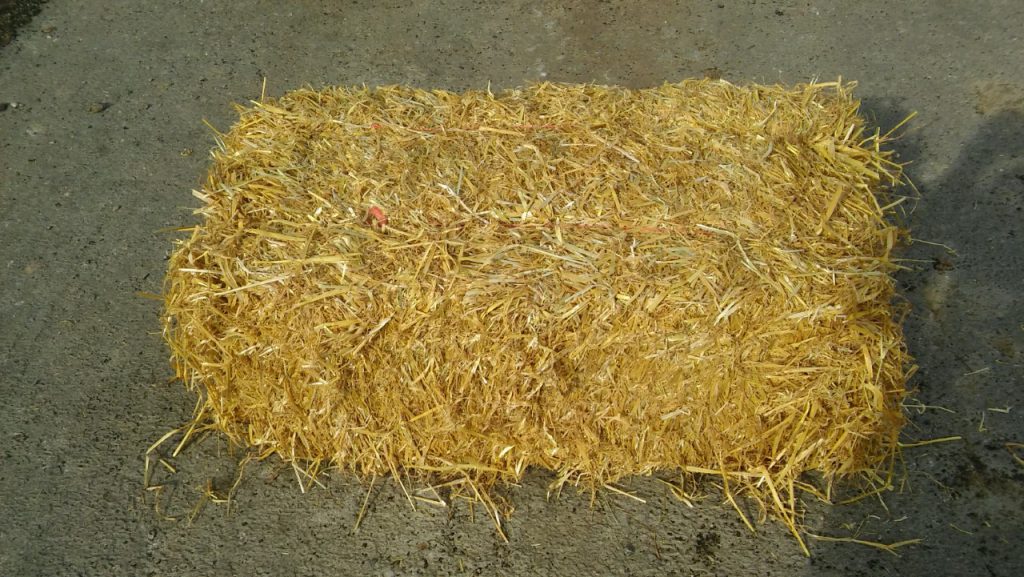
Not just any old straw will do. The trick is to select straw from a grain cop. The reason is stalks from barley, oats or rye have travelled through a combine harvester .
This means they’ve been clipped, cleaned and are all ready to use. All the seeds are gone and the stalks are clean.
Ones to be avoided are corn, linseed and flax. They take longer to decompose and so take much longer to prepare for planting. Really you want things to be ready with as little waiting as possible.
Hay generally isn’t up to the task. It hasn’t been through a combine harvester and is full of extra bits and pieces. I t will sprout weeds and other grasses.
However, some people like it as it’s got quite a bit of nitrogen. This is an essential nutrient for plant growth.
So you can use hay but it will need more attention. It will require weeding and clipping and sorting. Really these are things you’re trying to avoid anyway. My recommendation is to avoid hay if you can.
Normally you will add a fertilizer which contains nitrogen anyway so the one benefit that hay has is cancelled out.
You can get bales from garden centers, nurseries or local farmers. Always check if they have been organically farmed.
Step 2 – Picking a Spot and Placing Your Bales
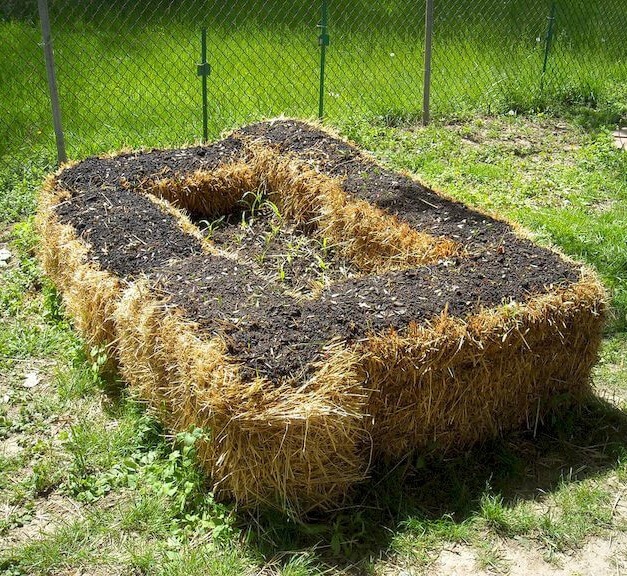
The main thing to think about is getting a reasonable amount of light. Leafy green vegetables will need less while thicker, taller plants will need more.
Anything in the four to eight hours of light range of light should be fine.
The bales are best laid long ways on their sides. Most straw bale gardeners say that it’s best to place the bales in a way so the string isn’t on the top or bottom.
Because the bales will need a fair bit of watering from start to finish, being near a tap or hose is a good idea.
Remember that once set up and watered these bales will get pretty heavy so try and get them right where you want them from the start.
Some people like to install a self watering system or a simple perforated hose over the bales.
With this you can just turn on the hose tap and hey presto the bales are watered.
Please Note: The two thin sides of a bale are in fact different. One is where the straw has been cut and the other is where it’s been folded. The cut side should be placed facing upwards.
With this cut side facing upwards, the straw is open and able to soak up water. The folded side won’t absorb water in the same way and is to be placed facing downwards.
Depending on the surface where you want to place your bales, you might want to prepare the area. With all surfaces it’s good to place some news paper or cardboard underneath the bales.
On a damp clay or soil surface some fabric or even an old carpet will stop the bottom of the bales becomes too soggy.
Layout
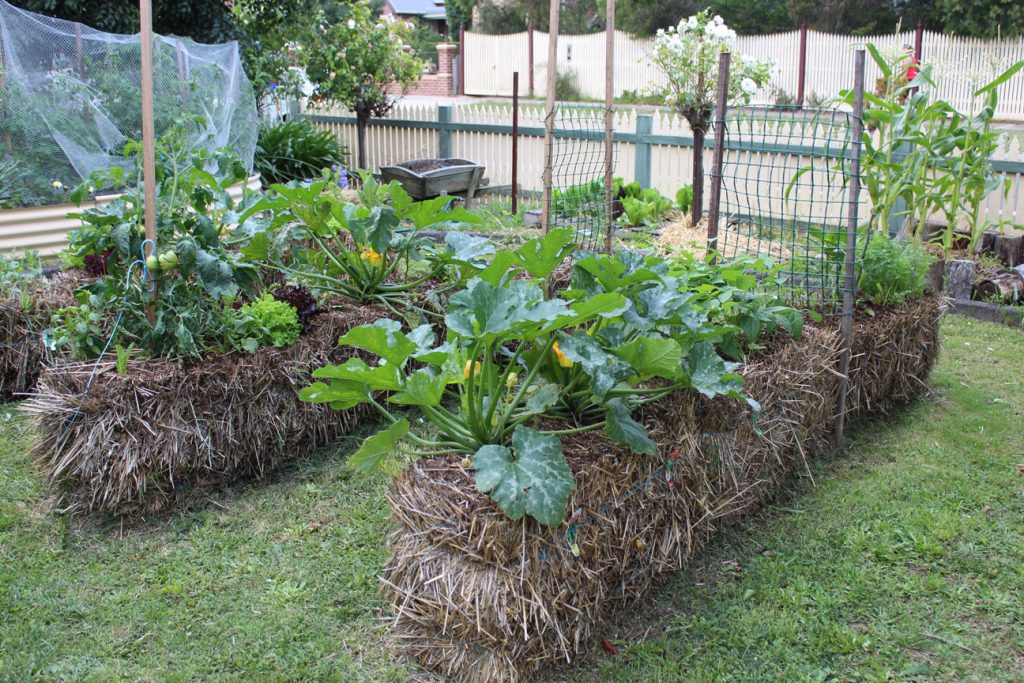
Traditional lay out is in lines. But you can make squares, zags zags, circles or whatever you fancy. The main thing is that you have clear access to all areas of the bales.
Step 3 – Conditioning the Bales
Nice detailed video on conditioning
Before you start to grow any vegetables you have to prepare the bales. They need to get a good soaking and be covered in fertilizer. This process takes ten days to a couple of weeks.
A whole range of chemical reactions will take place making the bales warm up. The bales will get hot for a week or so and as they start to cool down you’re getting closer to using your new bale garden.
There’s more than one way. Here’s a couple to get started with.
Way 1 – The Liquid Way
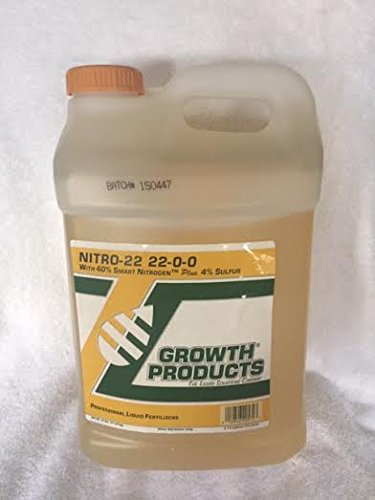
This is an all liquid way of getting your bales ready for growing. A lot of watering with around two weeks of waiting and you’ll be good to go.
Day 1: Give the bales a good soaking
Day 2-3: Keep watering the bales but not so much. Just make sure they’re staying really damp.
Feel inside the bales with your hands and see if they’re getting warmer. If they’re getting warmer the straw is starting to decompose.
Day 4-10: Keep watering but add a high nitrogen liquid fertiliser to your watering can. An all-purpose liquid vegetable fertiliser will be just fine.
Day 11-13: No more fertiliser but keep watering the bales. (Yes it’s a lot of watering!)
Day 14: Get those hands out again and start feeling into the bales. At this point it should be warm but not as warm as your hands. If that’s the situation you’re ready to go!
Way 2 – The Solids Way
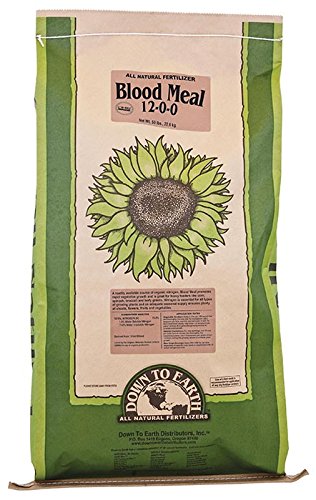
You guessed it, this way uses a solid fertilizer rather than a liquid one. Solid fertilizer helps the straw break down more quickly.
You’ll add solid fertilizer every couple of days and of course water each and every day.
In cooler climates the straw is slower to decompose so this method is very suitable in those circumstances.
Day 1: Cover each bale in some organic fertilizer.(1/2 a cup) . Make sure the fertilizer is rich in nitrogen. Water away until you can see the fertilizer seeping and sinking into the bales.
Day 2,4,5,6 Just add water. keep those bales wet.
Day 3,7,8,9: Fertilizer and water.
Day 10: Now change to a phosphorus and potassium fertilizer with water.
Days 11-14: Just keep adding a little water each day. It’s also time to check the temperature of the bales.
Each day test the heat of the bale using your fingers. When you feel the temperate has dropped to below your own hand temperature it’s time to plant.
Step 4 – Support Structure and Watering
If you’re going to be growing taller plants that require a bit of support like tomatoes, cucumbers and squashes, having a framework for them to grow on is essential.
Just a simple frame with wires or twine crossing over the bales will do just fine. Seven feet high is the suggested height.
Attach wires from post to post at the top. Then at ten inch intervals until you reach the bales.
A nice little extra is that the lower wires can act as support for a plastic cover in the colder months. You then have a little greenhouse of sorts.
Many people like to add a simple irrigation system. One thing about straw bale gardening is it needs quite a lot of watering so this little bit of effort now will save you a lot later.
A simple hose line with a few holes in it will be just the ticket. Just turn on that tap a couple of times a week for a few minutes and you’ve save yourself a lot of going back and forward to the bales.
Step 4 – Plant Those Plants
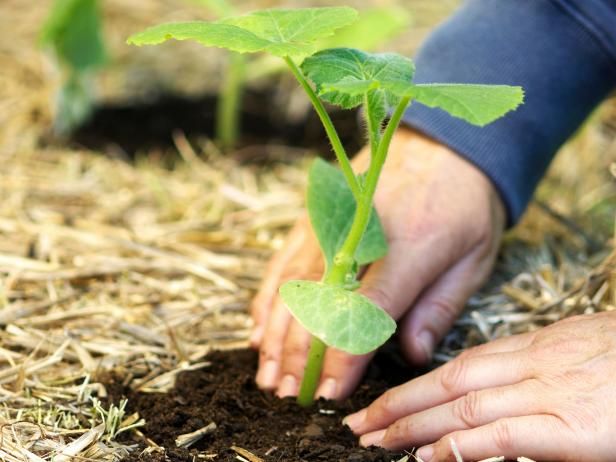
For seedlings the best thing to do is to create a hole on the straw with a towel.
Don’t dig out the straw just push apart the straw to make a hole. Put some planting mix into the hole and add the seedling.
Of course add some water to help it settle.
For seeds just add some planting mix (1-2 inches) to the top of the bale and place the seeds on top.
After germination growing roots will venture into the hay bale and get all their super nutrients down there.
Note: Don’t be tempted to use soil from your garden. This will contain pests and bugs that you are trying to avoid.
Step 6 – Have Cold a Beer!
If you’ve put the irrigation hose in place you really can have a beer now. There will be very little work to do until the crop has grown.
The beauty of your straw bale garden is about to be revealed. There will be no weeding or digging from now on.
If grass or weeds appear they will eventually be killed off by the fermenting process going on in the straw.
You’ve done the hard work now you can just watch your crop grow.
Step 7 – Recycle
After the harvest has been and gone you will be able to recycle the left over hay and all of its contents.
You have an awesome fertilizer that can be used in any parts of your garden or on your next years’s straw bale garden.
Some Extra Benefits of Straw Bale Gardening:
Less Digging and Weeding: The bales won’t require weeding or digging. This make straw bale gardening very attractive to many people. Normal vegetable gardens or flower beds need a lot of work.
Use Any Garden Space: You can grow your vegetables on concrete or pretty much any garden space you want. You don’t need a big vegetable garden.
No Bending Down: Because the bales are raised off the ground, bending down isn’t actually needed. You can tend to the bales without stooping down.
Not Expensive: Straw bales are far easier and way less expensive than creating raised beds.
Less Weeds And Pests: Almost no pests or weeds. This is because the bales have been through a combine harvester. The bales will turn into a kind of compost/soil when you condition them. Most pests normally come from ground soil.
Extended Growing Time: Lastly, growing seasons are limited by weather. Here, the straw actually insulates and warms the plants.
This helps to extend the growing season. Of course you won’t be able to grow in the middle of winter but you’ll get a few extra weeks by using bales.
We hope you enjoyed our straw bale gardening instructions. Please ask questions in the comments.
Hi Rob!
Great post about using bales as a gardening medium! Something I have never considered. I have used bales for other purposes however, and never thought of this. I can see where the next time I want to try something new in my garden, this might be a great alternative! You really got my mind churning on this one!
Thanks again for your insights !
Sincerely,
Tom
Thanks Tom.